Showing posts with label Sculpture. Show all posts

Thursday, May 15, 2014

Scuplture Artist: Jessica Harrison

For my sculpture artist, I chose Jessica Harrison who has a PhD in sculpture and excels in representing the human body through silicon, clay, pencil, ink, and several other materials.  She tries to change the way people usually see the human body in art by showing the subconsciousness and the movement of the body inside and out. I chose Jessica Harrison when I first saw her porcelain figures that were covered in tattoos because of how she combined two things that you would never see together. I also really how shes not just a sculpture artist and works with pencil and ink as well as the many different sculpture materials.


http://www.jessicaharrison.co.uk/page3.htm
http://www.jessicaharrison.co.uk/page7.htm
http://www.thisiscolossal.com/tags/sculpture/

Lidded Jars

Artists Create Original Work: 
Even though we were all creating the same types of jars, they was still a lot of room to make our pieces are own through the designs on the jar and the type of handle we made for the lid. I didn't do any designs on my first two jars mainly because I was focused on the shape and the smoothness of the clay sides. I did however, make different handles by making one with a small round sphere and the other with a squarish arch.
Artists Develop Art Making Skills:
These little jars are a really good practice for me because They help with the developing of clay skills because of the different teqniques such as the cork as the inside and using the newspaper if we don't want it to stick.

Unconventional Material Project


Artists Create Original Work-
I had originally planned on putting almost a template on top of the foam board, my material, to create a sign look but I decide to instead paint through the template onto painted plywood so that would look even more like a sign. I sanded the edges a bit so that the color under the white background showed through and then I used the foam board to back the plywood and to give a sort of frame that could be used for hanging it. I really wanted to incorporate Paris because I am visiting the city this summer.
Artists Took Risks-
I wanted to give it the antique look by doing the color underneath that would only show through when I sanded the edges. I chose turquoise which i made with blue and yellow spray paint but I was kind of apprehensive because I wasn't sure how well the spray paint would work under the acrylic or if it wouldn't have the desired affect. 
Artists Solved Problems-
When I spray painted the letters and the Eiffel tower down onto the acrylic white paint, the images were unclean because of how some of the paint had leaked under and created splotches. I fixed this by going over the white spray paint with white acrylic and cleaned up the edges to give a straighter look. 

Relief Project


Artists Create Original Work:
I wanted to create the look of a silhouetted cityscape but combine it with my desire of traveling so I cut out monuments and famous landmarks for England, France, and Italy.  I decided to make the background a map to tie each of the places together and to complete the look. 
Artists Communicate Through Their Work:
I have many places, primarily in Europe, that I want to visit and because this summer I will actually be going to London and Paris, I seem to tie practically everything to my upcoming trip.  I wanted to show how each country is unique and has gorgeous landmarks and monuments that represent their history and beauty.
Artists Solve Problems:
When I was cutting out the tiny details of the monuments I did run into the problem of accidentally cutting something off or causing it to be too weak to stand up without drooping.  I figured out that if I glued a tiny strip on the back, it strengthened it so that it could stand up and still had all the important details. I also later added wire to the backs of the taller buildings.

Friday, April 11, 2014

Survival Illustration Friday


For the word survival, I immediately thought about how in times of need, planes will drop supplies down to the people to help them survive and rebuild; so thats what I drew.

Monday, March 24, 2014

Origami


Artists Create Original Work- 
On my origami project I decided to do the basic shape of a triangle so that the base would not take away from the covering origami. I kept the designs simple, using basic accordion folds along the edges and then put a more complex looking flowers on the front and back. The only times I did origami, I usually did flowers so I was bit more familiar with the folds associated with them.
Artists Reflect- 
Throughout the project I would look at the overall thing and I changed the covering origami ideas I had several times before settling with flowers because nothing looked just right. I had been originally been thinking flowers but didn't have the right paper and was putting it off, but other folds just didn't look right so I went back to my original idea of flowers.
Artists Solve Problems-
Because I kept changing the folds on the shape, a lot of the time there was rip marks from where I had taken off the paper so I had to keep redoing the paper covering the shape. The accordion folds on the side were also a challenge because the Elmer's glue took a while to dry and hold the paper and I have no patience. I just had to press it up against other things for a while until the glue was dry enough to hold the folds in place.

Wednesday, February 19, 2014

After Visiting Artist

I was surprised by the project
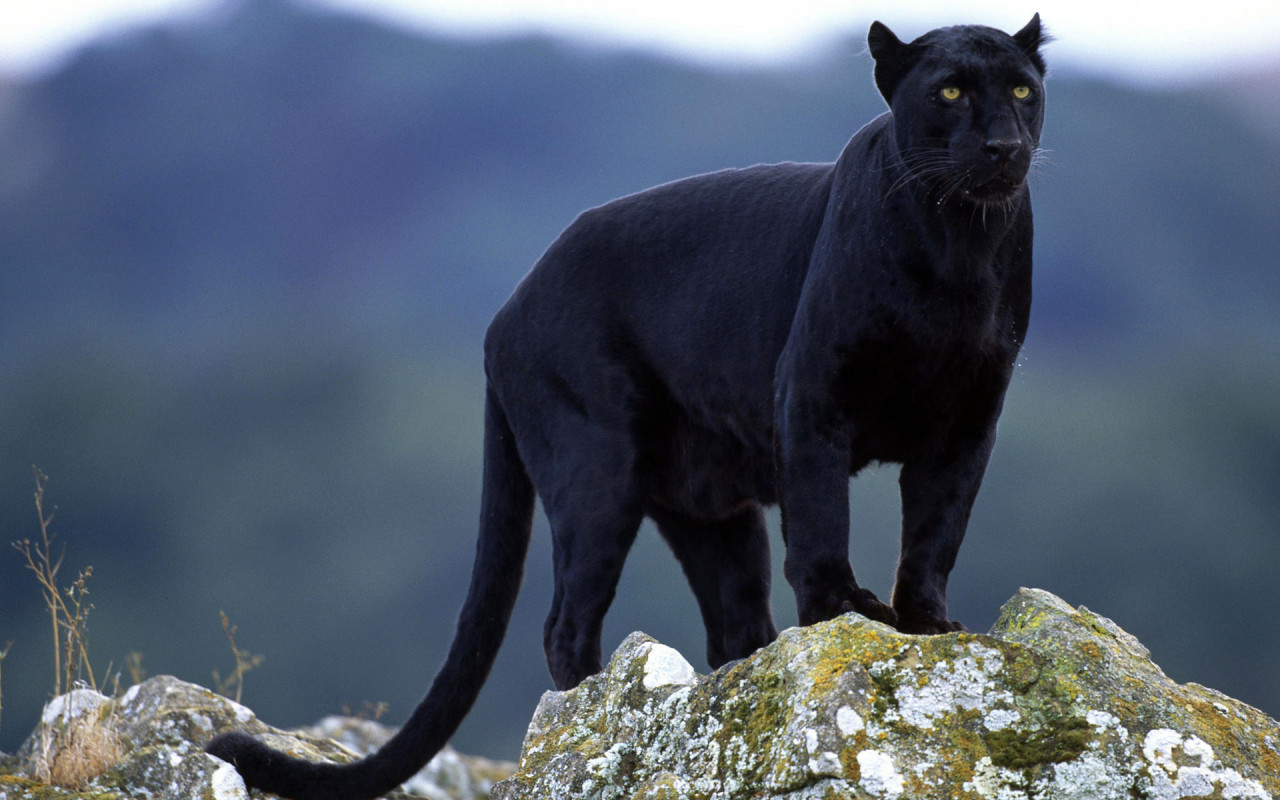
 because it was much easier than I had imagined but still a fun and challenging project to complete. It was kind of hard to bend the wire into the shape I wanted but after a while it became a lot easier. I think the hardest part was wrapping the wire and bags with cloth and yarn because I was trying to make sure there was no dangling string and that the bags and wire were completely covered. I am really happy with the head of my panther because it started out as the part of the piece I disliked the most but once I added ears, eyes, and a nose, I was pleased with the end result.


Friday, February 7, 2014

Before Visiting Artist Bryant Holsenbeck

Before Visiting Artist: 
1. Bryant Holsenbeck is an environmentalist who uses materials we wouldn't normally think of as "art supplies". By using trash bags, broken CD's, scraps of cloth and other pieces that have been thrown away as "trash", Holsenbeck creates an entirely unique style of pieces. She works with the community to create amazing and environmental friendly pieces of art. Although she started out as a basket maker, she is now devoted to creating installations and pieces of art all out of recycled materials.
2.I expect to be surprised by the different techniques she will teach us on how to make our trash bags into animal works of art. I have never done a project from recycled materials and I am excited to have her teach us how.
3.I think that we will all have a little trouble at the project first because most of us have never created an animal out of bags. However, I do know that we will all try our best to create the animals with our own skill and Holsenbeck's instruction.
4.I am planning to make a white tiger because even though I won't be able to capture all of the tiger's beauty it will still represent the gorgeous animal.
5.Favorite Pieces:
             
6. My animal idea:


Vessels: Dice Candle Holders


Artists Create Original Art-
I had decided that I had wanted to make something out of clay that could hold a candle and allow light to shine through. I thought of dice because I have always liked the simplicity of a pair of dice and it the dots could be the holes that have light shining through. Originally I thought to keep it white like traditional dice but the light would like white so I painted it black so that the values would stand out more.
Some inspiration I had when coming up with this idea was some pictures I had taken several months ago of pairs of dice, both white and black. Just two simple cubes with some dots has a sense of simplicity about them and I knew that they would work well if made out of clay.
Artists Solve Problems-
I am a bit of a perfectionist so I was determined to make sure that the holes were all perfect circles but because of that I would be constantly be cutting at the clay and taking more and more away. Some areas between dots got so thin that they were on the verge of breaking so I had to learn to be really gentle and to be careful not to cut to much away.
One of the mistakes that happened when I was cutting the holes was towards the end when the clay was a lot harder and easier to break. About a third of one piece broke off so that I had to re- score and slip the piece and line it up with the holes I had cut out. After I had smoothed all the clay together though it looked like it never happened.
Artists Take Risks-
One of the risks I took was the material itself. I have never been all that good at working with clay so I was a little skeptical of how square I could make it look and how round the holes could be.  I also had to make sure that all my clay was smooth and that all the texture that come off the cloth was gone. I had been really worried that I may have not gotten all the air bubbles out or that a piece would break off but it came out perfect and really happy with the overall result.